This weeks finished pattern is the Peacock Amigurumi by StringyDingDing
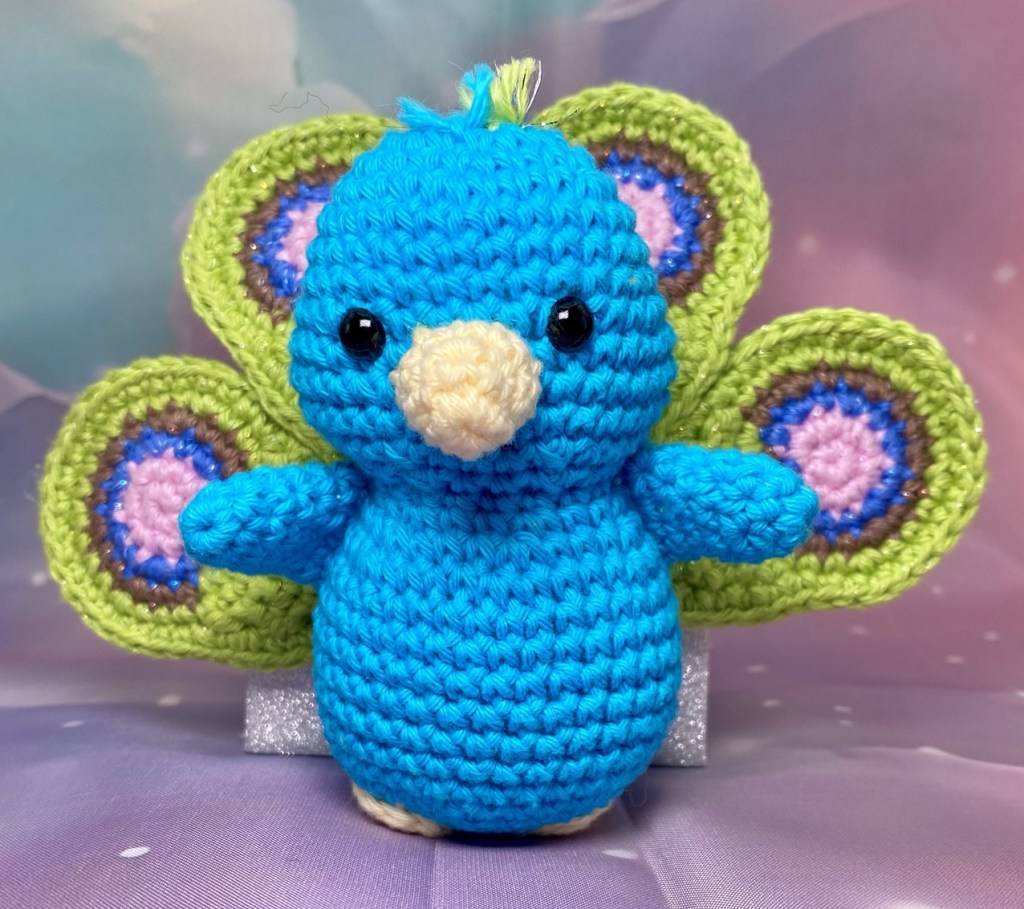
As you can see this is the cutest peacock pattern! (One of very few out there as well! Trust me, I looked quite hard!) This little chap was a gift for a work colleague and I could not be happier with the way he has worked out!
All in all he did not take that long to make, the pattern works up quite quickly and is really clear and is straight forward to follow. For someone who isn’t the fastest at crochet, expect to spend about 4-5 hours on this project (maybe a little longer). This is a good project for an advanced beginner to intermediate person as there is a little advanced work but nothing which is too difficult. You will probably need to block the tail feathers (especially if your tension is on the tighter side like mine was.) and there is sewing involved, so if you prefer no sew or low sew patterns this one is probably not going to be for you.
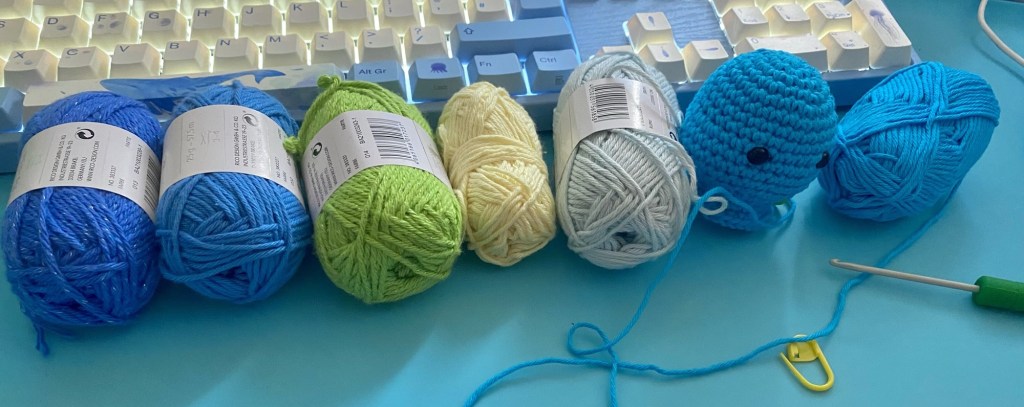
I made this little chap using the Rico cotton yarn and a 3mm hook, with the cotton sparkle yarn for the tail. This created an amigurumi which was around 6 inches tall. However if you use a heavier weight yarn with a larger hook this would probably create a nice 8-10” toy for someone young at heart, especially if you can or like working in fuzzy or velvet yarn.
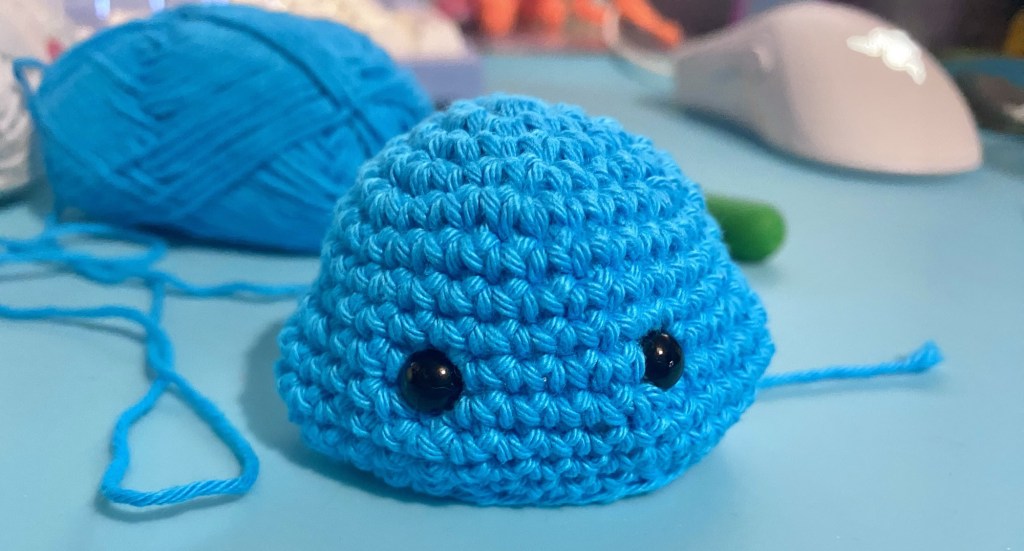
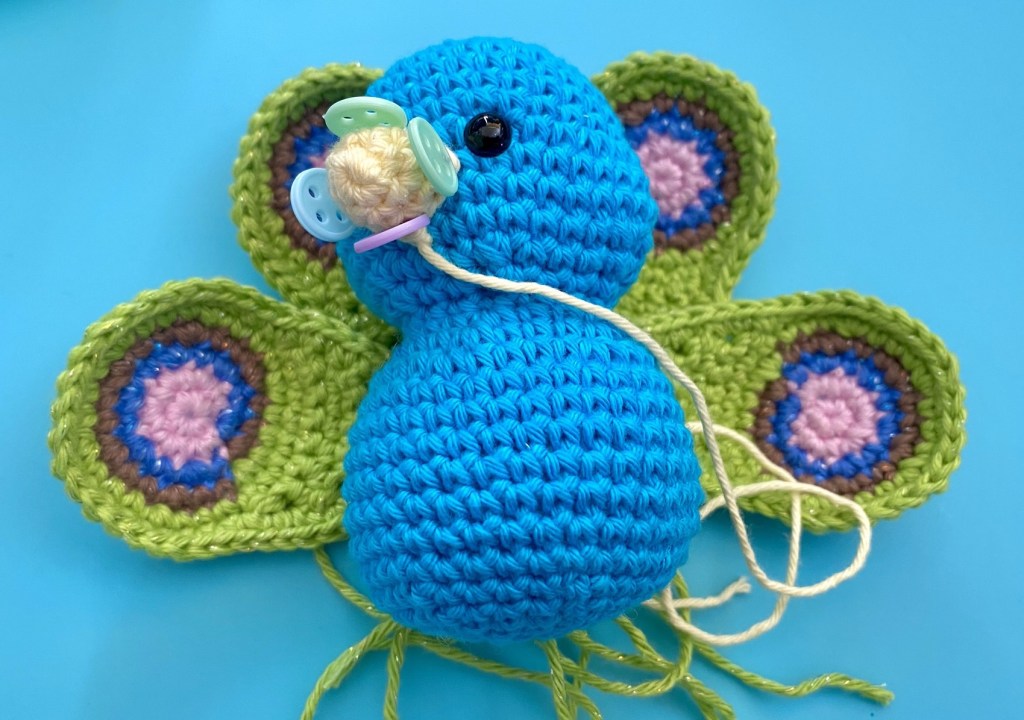
The head and the body are one piece with some increases to create the cheeks and decreases to create the neck which is nothing too complicated. Be aware you will be adding the eyes mid way through and stuffing as you go.
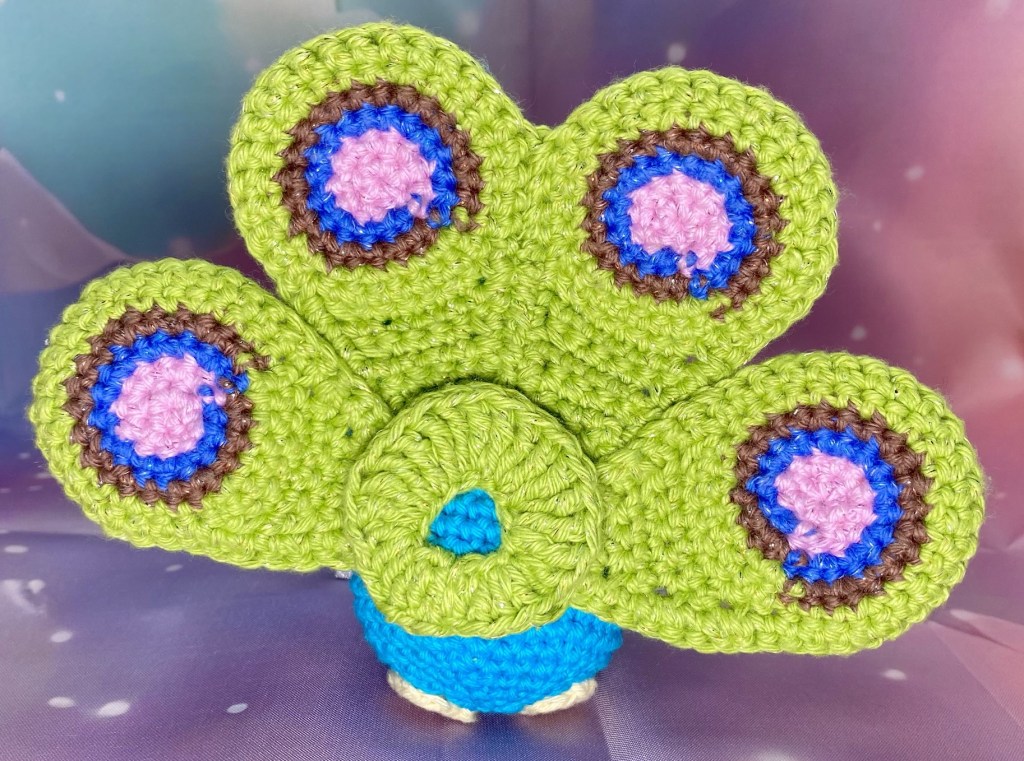
After that, the beak, feet, arms and tail are all constructed separately and I pinned these together as I went. (More so I didn’t loose the bits!) the parts construction stage didn’t take very long, probably about 4ish hours. In all honestly what delayed my project finish by about a week was the procrastination in getting my blocking tools out to block the tail feathers. In wanting to create a dense fabric to give the feathers structure, my tension was on the tighter side and this resulted in the curling forward of the circle at the top. However a quick steam block does fix this!

You may notice that two of the feathers are shorter than the others, this was because I misread the instructions and didn’t add additional rows. In the end it made creating the tail a little easier as it was naturally taller in the middle. I should stress this mistake was 100% user error and has no reflection on the quality of the instructions.
Once everything was blocked it was a relatively simple matter to sew everything together. For the tail I opted to sew the feathers together first in the way I wanted them to sit and then sewed them to the body. The rest of the parts were easily attached like any other crochet toy.
And he was done!
For what is essentially a free pattern, this is spot on. You can access the pattern for free from StringyDingDing’s blog or if you want to support them you can purchase the pattern from their web shop which I did when I found myself making a second one. (Support small creators where you can!)
Not a lot more to say except if peacocks are your thing, this pattern is well worth a go!